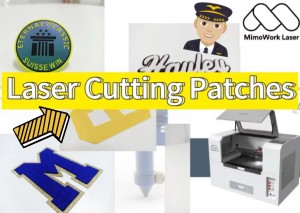
Are you interested in making laser-cut patches using a CCD laser cutter?
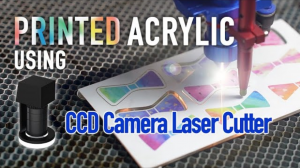
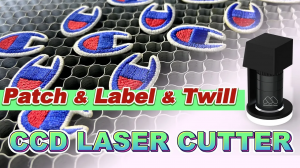
In this video, we walk you through the essential steps for operating a camera laser cutting machine specifically designed for embroidery patches.
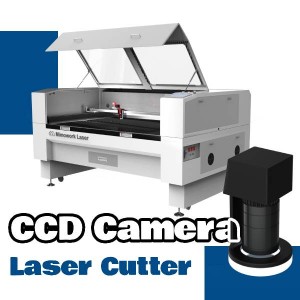
With its CCD camera, this laser cutting machine can accurately recognize the patterns of your embroidery patches and relay their positions to the cutting system.
What does this mean for you?
It allows the laser head to receive precise instructions, enabling it to locate the patches and cut along the contours of the design.
This entire process—recognition and cutting—is automated and efficient, resulting in beautifully crafted custom patches in a fraction of the time.
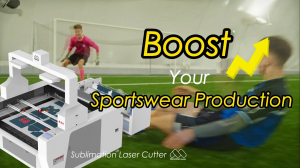
Whether you're creating unique custom patches or engaging in mass production, the CCD laser cutter offers high efficiency and top-quality output.
Join us in the video to see how this technology can enhance your patch-making process and streamline your production workflow.