
Replacing the focus lens and mirrors on a CO2 laser cutter and engraver is a delicate process that requires technical knowledge and a few specific steps to ensure the safety of the operator and the longevity of the machine. In this article, we will explain the tips on maintaining the light path. Before beginning the replacement process, it's important to take a few precautions to avoid any potential hazards.

Safety Precautions
First, make sure that the laser cutter is turned off and unplugged from the power source. This will help prevent any electrical shock or injury while handling the internal components of the laser cutter.
It's also important to make sure the work area is clean and well-lit to minimize the risk of accidentally damaging any parts or losing any small components.
Operation Steps
◾ Remove the cover or panel
Once you have taken the necessary safety measures, you can start the replacement process by accessing the laser head. Depending on the model of your laser cutter, you may need to remove the cover or panels to reach the focus lens and mirrors. Some laser cutters have easy-to-remove covers, while others may require you to use screws or bolts to open the machine.
◾ Remove the focus lens
Once you have access to the focus lens and mirrors, you can begin the process of removing the old components. The focus lens is typically held in place by a lens holder, which is usually secured by screws. To remove the lens, simply loosen the screws on the lens holder and carefully remove the lens. Make sure to clean the lens with a soft cloth and lens cleaning solution to remove any dirt or residue before installing the new lens.
◾ Remove the mirror
The mirrors are typically held in place by mirror mounts, which are also usually secured by screws. To remove the mirrors, simply loosen the screws on the mirror mounts and carefully remove the mirrors. As with the lens, make sure to clean the mirrors with a soft cloth and lens cleaning solution to remove any dirt or residue before installing the new mirrors.
◾ Install the new
Once you have removed the old focus lens and mirrors and have cleaned the new components, you can begin the process of installing the new components. To install the lens, simply place it in the lens holder and tighten the screws to secure it in place. To install the mirrors, simply place them in the mirror mounts and tighten the screws to secure them in place.
Suggestion
It's important to note that the specific steps for replacing the focus lens and mirrors may vary depending on the model of your laser cutter. If you're unsure about how to replace the lens and mirrors, it's best to consult the manufacturer's manual or seek professional assistance.
After you have successfully replaced the focus lens and mirrors, it's important to test the laser cutter to make sure it's functioning properly. Turn on the laser cutter and perform a test cut on a piece of scrap material. If the laser cutter is functioning properly and the focus lens and mirrors are properly aligned, you should be able to achieve a precise and clean cut.
In conclusion, replacing the focus lens and mirrors on a CO2 laser cutter is a technical process that requires a certain degree of knowledge and skill. It's important to follow the manufacturer's instructions and to take the necessary safety precautions to avoid any potential hazards. With the right tools and knowledge, however, replacing the focus lens and mirrors on a CO2 laser cutter can be a rewarding and cost-effective way to maintain and extend the life of your laser cutter.
Glance | MimoWork Laser Machine

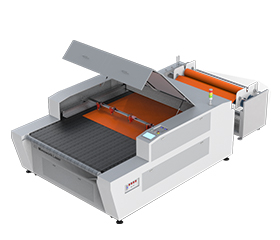
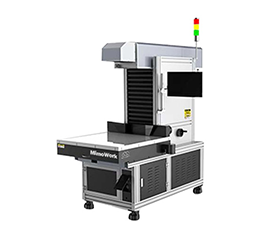
Choose the one that suits your requirement
Any confusions and questions for CO2 laser cutting machine and engraving machine
Post time: Feb-19-2023