

Laser Marking Metal: How to Properly Use Diode Laser Marking Spray

Working Principle of Diode Laser Metal Marking Spray
Laser marking spray for diode lasers is a laser-absorbing coating specifically designed to solve the problem of diode lasers being unable to mark bare metal directly. Diode lasers (wavelength ~445nm) have extremely high reflectivity on metal surfaces—most of the laser energy is reflected rather than absorbed, making it impossible to generate effective heat. The spray creates an absorptive coating on the metal surface, allowing the diode laser's energy to be absorbed by the coating and converted into heat, which then reacts with the metal surface to create a permanent mark.
Limitations of Diode Laser Metal Marking
Before you start, there are some physical limitations of the equipment you need to be aware of:
Power Threshold:
- Diode lasers – At least 10W actual output power is recommended (20W or 40W is best). While a 5W machine with certain high-sensitivity sprays may barely leave a mark, the speed is extremely slow and energy density is insufficient, often resulting in poor sintering and weak adhesion.
- CO₂ lasers – Machines with 40W or more, when used with the right spray, can produce excellent black contrast.
Material Limitations:
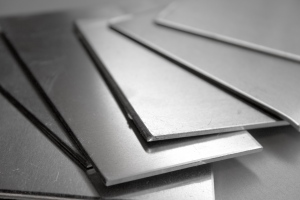
- The spray is mainly suitable for bare stainless steel, brass, aluminum alloys, titanium alloys, anodized aluminum, etc.
- For chrome-plated, nickel-plated, mirror-like reflective surfaces, or metals with extremely thick anti-rust coatings, heat transfer is very difficult, and marking adhesion drops significantly.
Deep Engraving Is Not Possible:
Please note: Diode and CO₂ lasers + spray can only create a thin, hard black layer on the metal surface (micron-level). They cannot perform deep engraving like industrial fiber lasers, which remove metal to create a tactile, recessed 3D effect.
How to Properly Use Laser Marking Spray with a Diode Laser
Step 1: Pre-cleaning (Thorough Degreasing)
Oils from your hands, anti-rust residue, or dust are the biggest enemies of adhesion. Before marking, thoroughly wipe the metal surface with IPA (isopropyl alcohol) or acetone. The surface must be completely clean.
Step 2: Thin & Even Coating
Rule of thumb: just enough to cover the base metal!
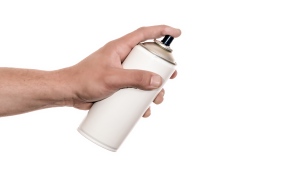
Shake the spray can well (at least 1 minute). Hold the can about 15–20 cm from the workpiece. Spray in quick, sweeping passes to apply an extremely thin, uniform layer. When dry, the coating should be light gray or faint black — you should still be able to barely see the metal shine through. That's the sweet spot.
Step 3: Drying
Let the coating dry naturally (about 2-3 minutes), or speed it up with a heat gun or hairdryer on low heat. Never engrave while the coating is still wet.
Step 4: Parameter Test & Post-cleaning
Parameter settings – Use slow speed + high power + high line density (e.g., 0.05mm line spacing) to ensure enough heat builds up at each point for a solid reaction.
Wash off – After engraving, rinse the piece directly under running water (a soft brush helps). The unsintered powder will wash away easily, leaving behind a crisp, black, permanent pattern.
Considerations When Using Spray with a Diode Laser
Shake Thoroughly
Shake the can vigorously for 1-2 minutes before use until you hear the mixing ball rolling freely. Prolonged sitting causes solid particles to settle, affecting spray performance.
The Thin-Coating Principle
Better too thin than too thick. A thick coat not only wastes material but also absorbs excessive laser energy, resulting in gray marks or poor adhesion. The ideal coat should barely obscure the metal's base color.
Avoid Over-Spraying
Use a quick sweeping motion—don't linger in one spot. Apply a single light pass, let it dry, and only add more if needed. Avoid re-spraying the same area.
Protect Surrounding Areas
For precise marking on finished products, use masking tape to cover areas that should not be coated.
Ensure Good Ventilation
Sprays contain solvents that release volatile gases during application. Work in a well-ventilated area or wear a mask.
Always Test First
Different metals (stainless steel, aluminum, carbon steel, etc.) react differently to lasers. Testing on scrap material is the safest approach. Use the spray manufacturer's recommended parameters as a starting point and adjust based on your material.
How to Choose the Right Laser Marking Spray for Diode Laser
| Product | Diode Compatibility | Features |
|---|---|---|
| CerMark | ✅ Compatible with some diode models | Industry standard; high-contrast black marks; verify compatibility with your machine |
| LaserBond | ✅ Designed for diode lasers | Optimized for diode wavelengths; good value for money |
| Enduramark | ✅ Compatible with some diodes | High durability; works with CO₂ and some diode systems |
| Brilliance Laser Inks | ✅ Compatible with diodes | Works on metals, glass, and ceramics |
| xTool Black Marking Spray | ✅ Compatible with 10W+ diodes | Optimized for xTool diode lasers; easy to use |
If you find professional marking sprays too expensive, here are some alternative methods that Reddit users have tested with decent success rates:
Cold Galvanizing Spray (Cold Gal / Black Zinc Spray)
Brands like Boston Black Zinc contain a high amount of zinc particles. Apply a thin coat and engrave with a diode laser – it creates a decent black chemical and mechanical bond at about 1/5 the cost of professional spray.
Primer + Cold Bluing Solution
First, spray a thin layer of regular automotive primer. Use the laser to burn away the primer in the pattern area, exposing bare metal. Then apply gun bluing solution ("Cold Blue") to chemically blacken the exposed metal. Finally, wipe off the remaining primer with acetone. This method works well for achieving a vintage-style etched look.
Note: Avoid the "Sharpie / marker" method. Paint markers only slightly increase absorption and will wipe right off – they do not create a true permanent sintered mark.
Best Applications for Laser Marking Spray with Diode Lasers
| Application | Description |
|---|---|
| Personalized Gifts | Engrave names or logos on stainless steel tumblers, metal keychains, lighters, and more |
| Small-Batch Customization | Ideal for single or small-batch custom items like souvenirs, team awards, and event gifts |
| Product Prototyping | Add labels, serial numbers, or version information to prototypes |
| Testing the Metal Marking Market | For existing diode users looking to explore metal marking without a large investment |
| Low-Volume Applications | For users who don't need high throughput or speed—diode + spray is a low-cost entry point |
Recommended Metal Marking Machines That Don't Require Spray
| Advantage Dimension | Specific Advantage | Detailed Description |
|---|---|---|
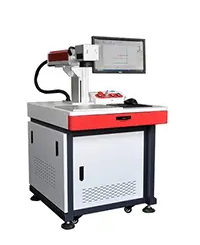
| Quality & Precision | Ultra-high precision | Repeatability up to 0.01mm for fine text, patterns, and QR codes with smooth edges. |
| Maintenance Cost | Low maintenance & long life | Air-cooled fiber laser with 100,000-hour lifespan, supporting 24/7 continuous operation. |
| Strong Applicability | Flexible & adaptable | Adjustable worktable and laser head accommodate various workpiece sizes and shapes. |
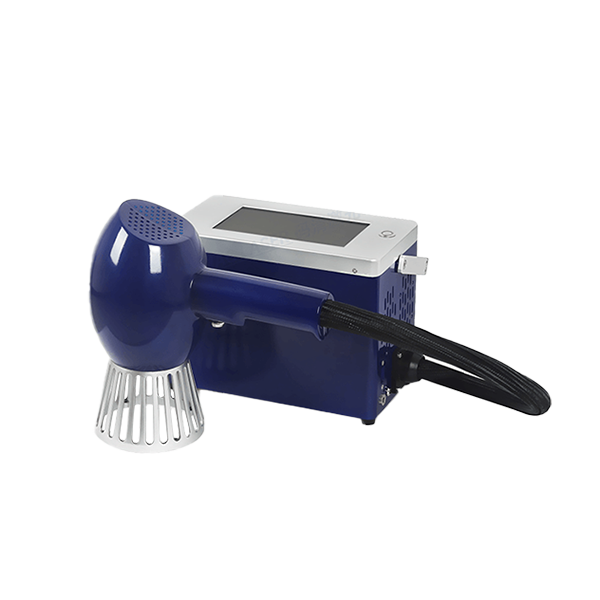
| Advantage Dimension | Specific Advantage | Detailed Description |
|---|---|---|
| Quality & Precision | Ultra-high precision | Repetition precision up to ±0.002mm for consistent, permanent, and distinct marking results. |
| Maintenance Cost | Long-lasting battery | 24V rechargeable lithium battery system providing 6-8 hours of continuous cruising. |
| Strong Applicability | Portable & cable-free | Lightest grip on the market, enables easy marking on large, heavy workpieces that cannot be moved. |
Related Videos
How to Set up EZCad Rotary | Fiber Laser Engraving Tutorial
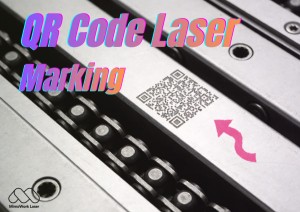
Fiber laser marking machines leverage the natural advantage of their 1064nm wavelength, which is efficiently absorbed by metals. This means you can achieve permanent, high-contrast marks on stainless steel, aluminum, copper, titanium, and other metals without any marking spray or coating—all you need is basic software skills.
This video will walk you through the software workflow of a fiber laser marking machine: from importing design files, setting marking parameters (power, speed, frequency, fill spacing), to precise focusing and starting the marking process—no consumables required.
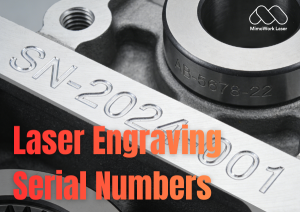
Whether you need to add serial numbers to products, customize logos on metal gifts, or expand your metal processing business, a fiber laser marking machine is the most efficient and cost-effective solution.
FAQ
A:90% of the time, it’s because the coating is too thick! A thick layer absorbs all the laser energy on the surface and prevents heat from reaching the metal underneath. Try applying a micron thin coat — just enough to barely cover the metal’s shine (you should still see a hint of metal through the coating). If it still washes off, reduce laser speed by 30%, or increase DPI (line density), for example tighten line spacing to 0.05mm.
A: For coated tumblers (like black or sandblasted ones), laser marking works by burning off the top coating to expose the base color — no spray is needed. For bare stainless steel tumblers, however, you must apply laser marking spray. The mark is created through high temperature sintering, which bonds the coating to the metal surface.
A: No. The spray contains organic solvents and fine powder aerosols, and the laser burning process releases trace amounts of harmful fumes. Never spray or operate in an unventilated living room! Always spray in a well ventilated workshop or outdoors, or equip your laser with an explosion proof exhaust system and air purifier.
Do you have any other questions about laser marking spray for diode laser
Post time: Jul-24-2026